Hi mate, here I would like to share my experience with Tata Nexon BS6 vehicle along with bumper maintenance. It was awesomely designed with great features. That too, a common man can also get it at affordable price, moreover it’s 5 star safety car in terms of crash or any unexpected accidents. Suggesting simply go for it without any other thoughts.
I brought the guide lines here for TATA NEXON to remove back bumper for cleaning purpose or for any scratch removing or for any dent removing purposes. Here, the design is bit tricky, we have to be careful and follow the below steps for the same.
Prerequisites:
- Tool Kit
- Fabric cloth
- Carpet to keep bumper after removing
- Vacuum cleaner or any type broom stick
To Remove Nexon back bumper :
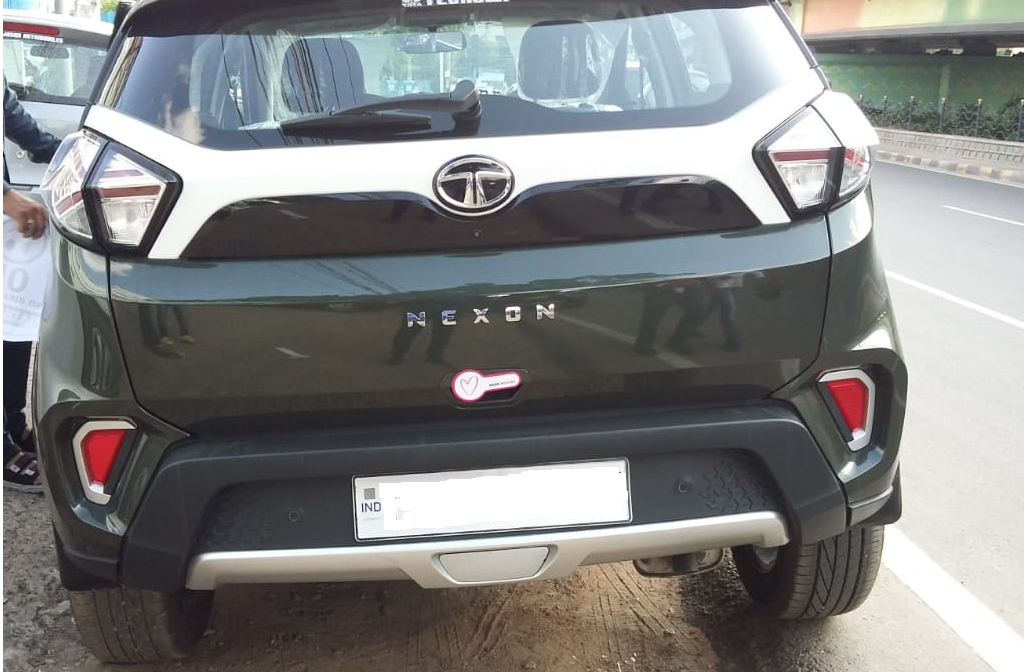
Here, you can see the below the Tata Nexon stylish foliage green color bumper and design. It’s really well designed and strong made fiber bumper. In Top models, TATA is also offering C type silver chrome grills as like below. It gives classic finish to back side of this SUV.
Before proceeding, please make sure that you have above mentioned pre-requisites and also well parked in the correct place with hand break. My suggestion is to do this at day light if you are doing at Home.
Fallow the below steps:
- After parking the Vehicle, Please open the tail gate and then start to remove the rare tail lamps. For that you need to open the two caps, which will be there on Lamp body, behind those caps, screws were hidden.
- Then remove the mud caps of rare wheels, if have any.
- Now go to bottom section of the bumper, there are few the screws will be there. In that also there are 6 plastic auto lock screws as like shown below. For each of below screw have two base heads. Once you press them together then it will lock. So, pull the base one from base two with the help of 5 mm blade tip screwdriver, so that you can remove it. Like that remove all below auto lock screws along with normal screws.

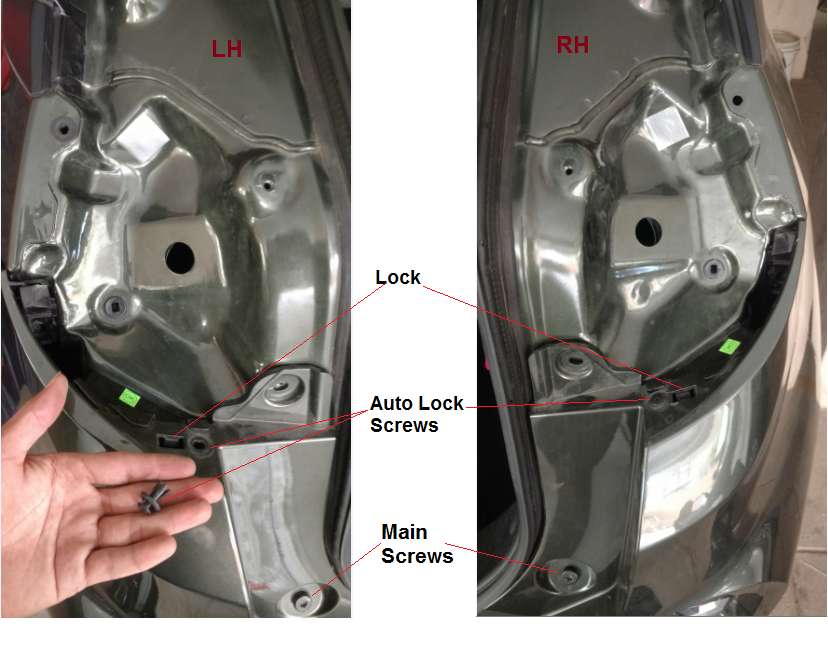
- Also remove two more auto lock screws, which were placed at bottom of the tail light on both sides as shown like below. Also there is a lock beside of that screw on both side, unlock those after doing the below next step.
- Now try to loose the below main screws but don’t remove completely. Before removing those, we have to pull out the bumper from bumper brackets on both sides. While pulling we have to be careful, because it’s a one time fixed part and made with plastic. But we can remove and fix it again. So, just handle it with care.
Final steps:
- Then disconnect the sensors cables, the respective plug and socket will be inside at spear wheel location. From there you unplug it and pull out the cable to outside.
- Now you can remove the main screws of bumper. Then hold it at middle and take it away slowly by shaking up and down little bit and place it on carpet.
- Then clean the dust and do dent/scratch repair if any. Finally fix it as it was again by fallowing above steps in reverse order.
That’s all….
Thanks!!
“I hope this Article is helpful to you. If you like it, hit me with Facebook like button and share it with your friends. If you have any queries, please let me know as comment as below.”